
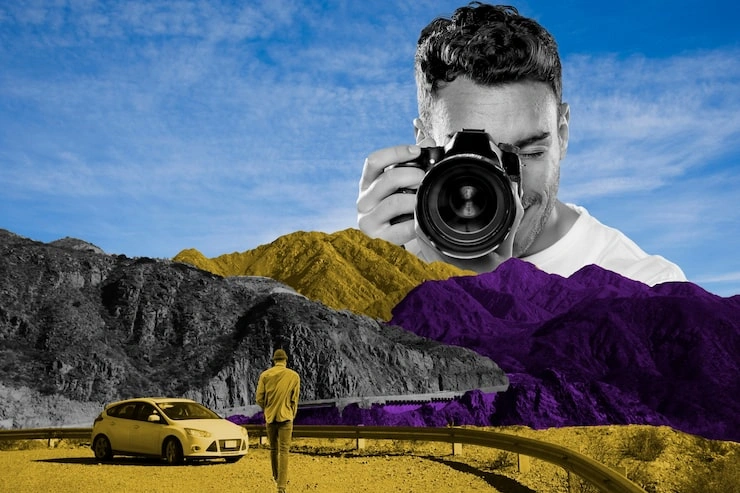
Do you want to take better pictures of the outdoors. Most people think they need a better camera. They do not. What makes a photo good is not the price of your lens. It is how you point your camera. It is what you choose to put in the frame. It is what you choose to leave out. Let me show you what works. These are not rules you have to follow every time. They are ideas to try. Some will work for you. Some will not. That is landscape photography composition tips for beginners.
What is composition anyway?
Composition is just a fancy word for arrangement.
When you take a photo, you are arranging things. You decide where the ground meets the sky. You decide what goes on the left side and what goes on the right. You decide what stays and what goes. Good arrangement makes people look at your photo longer. Bad arrangement makes them scroll past without stopping. Before you press the button, stop for a second. Look at what is in your viewfinder. Is there something interesting. Is there something distracting. Can you move to get a better view. These simple questions will improve your photos more than any gear upgrade.
Read Also: Best Outdoor Photography Lighting Tips Without Flash
Find one thing to focus on
Every good photo has a main thing.
This can be a mountain. This can be a tree. This can be a river. This can be a rock. This can be a person standing on a hill. If you do not have a main thing, people do not know where to look. Their eyes wander around the photo. They get bored. They move on. Keep it simple. One main thing works best. Two things can work. Three things is usually too many. Try this next time you are out. Find a nice view. Then ask yourself what part of that view is the most interesting. Point your camera at that part. Make that part the star of your photo.
Put the horizon in the right place
Where do you put the line where the sky meets the ground. Many beginners put it right in the middle. This makes the photo feel cut in half. It often looks boring. Try putting the horizon lower. Let the sky take up more room. This works when the sky is beautiful. Clouds. Colors. Sunsets. Sunrises. Try putting the horizon higher. Let the ground take up more room. This works when the ground is interesting. Flowers. Rocks. Patterns in the dirt.
Neither way is wrong. Both ways work. It depends on what you want to show.
Add something close to you
Have you ever taken a photo of a mountain and it looked flat. That happens because there is nothing in the foreground. The foreground is the part of the photo closest to you. Put something there. A flower. A rock. A patch of grass. A puddle reflecting the sky. This simple thing adds depth. The viewer looks at the close thing first. Then their eyes move to the middle. Then they reach the mountain in the back. This journey makes the photo feel three dimensional. Get low when you do this. Crouch down. Put your camera near the ground. The close thing will look bigger. The depth will look stronger.
Use lines to guide the eye
Have you ever seen a photo where your eyes just follow a path into the scene. That is a leading line. Roads work well for this. Rivers work well. Fences work well. Rows of trees work well. Even shadows on the ground can work. Place the line at the bottom of your photo. Let it start there. Let it lead the viewer into the scene. Let it take them to your main subject. This makes the viewer feel like they are walking into your photo. It makes them feel like they are there.
Move your feet
Most people take photos from eye level. This is where they happen to be standing. This is often not the best spot. Get down low. Crouch. Kneel. Lie on your stomach. See the world from a worm's perspective. This makes small things look big. This makes the ground look interesting. Get up high. Climb a hill. Find a bridge. Find a lookout. See the world from a bird's perspective. This shows patterns you cannot see from the ground. Move left. Move right. Take three steps. Sometimes a tiny change in where you stand completely changes the photo. Do not settle for the first angle you find. Walk around. Explore. See what the scene looks like from ten different spots.
Leave empty space
Have you ever seen a photo that looks calm and quiet.
- Often these photos have lots of empty space. This is called negative space.
- A big blue sky with nothing in it. A wide beach with no people. A flat lake with no boats.
- Place one small thing in all that empty space. One tree. One rock. One person. One bird.
- This makes the viewer feel something. Peace. Quiet. Loneliness. Freedom. It depends on the scene.
- You do not have to fill every part of your frame. Sometimes the best thing you can do is leave parts empty.
Look for repeating shapes
Have you ever seen rows of grapevines stretching into the distance. Have you ever seen waves rolling onto a beach. Have you ever seen a field of flowers all facing the same way.
These are patterns. Patterns catch the eye.
You can fill your whole frame with a pattern. This creates an abstract look. You cannot tell what it is at first. Then you realize. That is satisfying. You can also use a pattern as a background for your main subject. The pattern does not distract. It adds interest. Keep your eyes open for patterns. They are everywhere. You just need to look.
Use a frame inside your frame
Here is a fun trick.
Find something that acts like a frame around your subject. Tree branches over a path. An archway looking out at a valley. Rocks on both sides of a waterfall. A window looking out at a garden. This frame draws attention to your subject. The viewer looks at the frame first. Then they look through it. Then they see your main thing. This also adds depth. The frame is close. The subject is far. The viewer feels the distance between them. Look for natural frames when you are outside. They are all around you. You just have to spot them.
Watch the sky
The sky changes everything.
If the sky is full of clouds and color, show it off. Put the horizon low. Let the sky take over. If the sky is plain and empty, hide it. Put the horizon high. Focus on the ground instead. Do not ignore weather. Storm clouds make dramatic photos. Fog makes mysterious photos. Rain makes reflections and rich colors. Do not pack up your camera when the weather turns bad. Some of the best photos come from days when everyone else stays inside.
Choose the right time of day
The same place at noon and at sunset looks like two different worlds.
Sunrise and sunset are special. The light is warm. The shadows are long. The colors are rich. This is when most landscape photographers shoot. The hour before sunrise and after sunset is also special. The sky turns deep blue. The light is soft. This is a good time for quiet scenes. Midday is harder. The light is harsh. Shadows are sharp. Colors can look faded. You can still shoot at midday. You just have to look for scenes where the harsh light works. Deep canyons. Thick forests. Places where shadows add shape.
Shoot the same place four times
Here is something most people do not think about.
- The same place looks different in every season.
- Spring has fresh colors and flowers. Fog in the morning adds mystery.
- Summer has long evenings and colorful sunsets. Shadows are strong.
- Autumn has golden leaves and warm colors. The contrast is beautiful.
- Winter has snow. The landscape becomes simple. Shapes stand out clearly.
- Visit your favorite spot in all four seasons. You will get four different sets of photos. This is a great way to practice and see how light and weather change everything.
Read: Family Photography Ideas Outdoor
Try different lenses
Wide lenses are popular for landscapes. They fit more into the frame. They make the foreground look big. But wide lenses are not the only option. Zoom lenses are good too. They bring distant things closer. They make mountains look closer together. This creates a different feeling. Your phone is wide. Try zooming in. Try a clip on lens. See how the scene changes. Different lenses give you different tools. Try them all. See what you like.
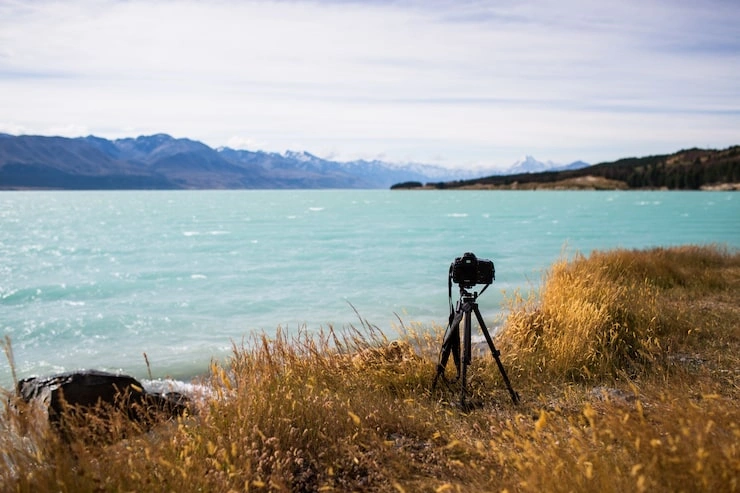
Use a tripod
A tripod does more than hold your camera steady.
A tripod makes you slow down. You set it up. You look at the scene. You take your time. You notice small things you would miss otherwise. A branch in the corner. A rock that does not belong. A line that does not lead anywhere. Even when you have plenty of light, try using a tripod. The extra time helps you landscape photography composition tips for beginners.
Fill the frame
Get close. Really close.
Sometimes a single leaf fills the frame and tells the whole story. Sometimes a pattern in the sand is more interesting than the whole beach. Look for details. The small things that make a place special. The way light hits a stream. The shape of a branch. The texture of bark. These close up photos often stand out because most people do not take them.
Break the rules
- Everything I have told you is just a suggestion.
- Some of the best photos break every single one of these tips.
- Rule of thirds says put the horizon off center. But sometimes the center is exactly right.
- Leading lines are useful. But a photo with no lines can be powerful.
- Empty space is nice. But a busy photo can also work.
Trust your own eyes. If a photo looks good to you, take it. The rules are there to help you, not control you.
Keep practicing
Landscape photography is something you get better at over time.
Do not try to remember all these tips at once. Pick one or two. Practice them on your next walk. When they feel natural, pick another one. Take your camera with you everywhere. Even when you are just going to the store. You never know when the light will be beautiful. Look at photos you like. Figure out how they were made. What is in the foreground. Where is the horizon. What is the subject. The more you shoot, the better you get.
Start in your own neighborhood
You do not have to travel to the mountains to practice. Your backyard. A local park. A quiet street. These are all good places to start. Look for light on a fence. Shadows on a wall. Reflections in a puddle. Patterns in the leaves. Train your eye to see beauty in everyday places. This is the most important skill you can develop.
Go outside now
Stop reading. Go take some photos. Take your phone. Take your camera. Take whatever you have. Find a nice view. Think about where to put the horizon. Look for something to put in the foreground. Move around. Try different angles. You will see improvement faster than you expect. Every photo you take teaches you something. Even the bad ones. Especially the bad ones. Get out there and shoot. That is the only way to get better.


